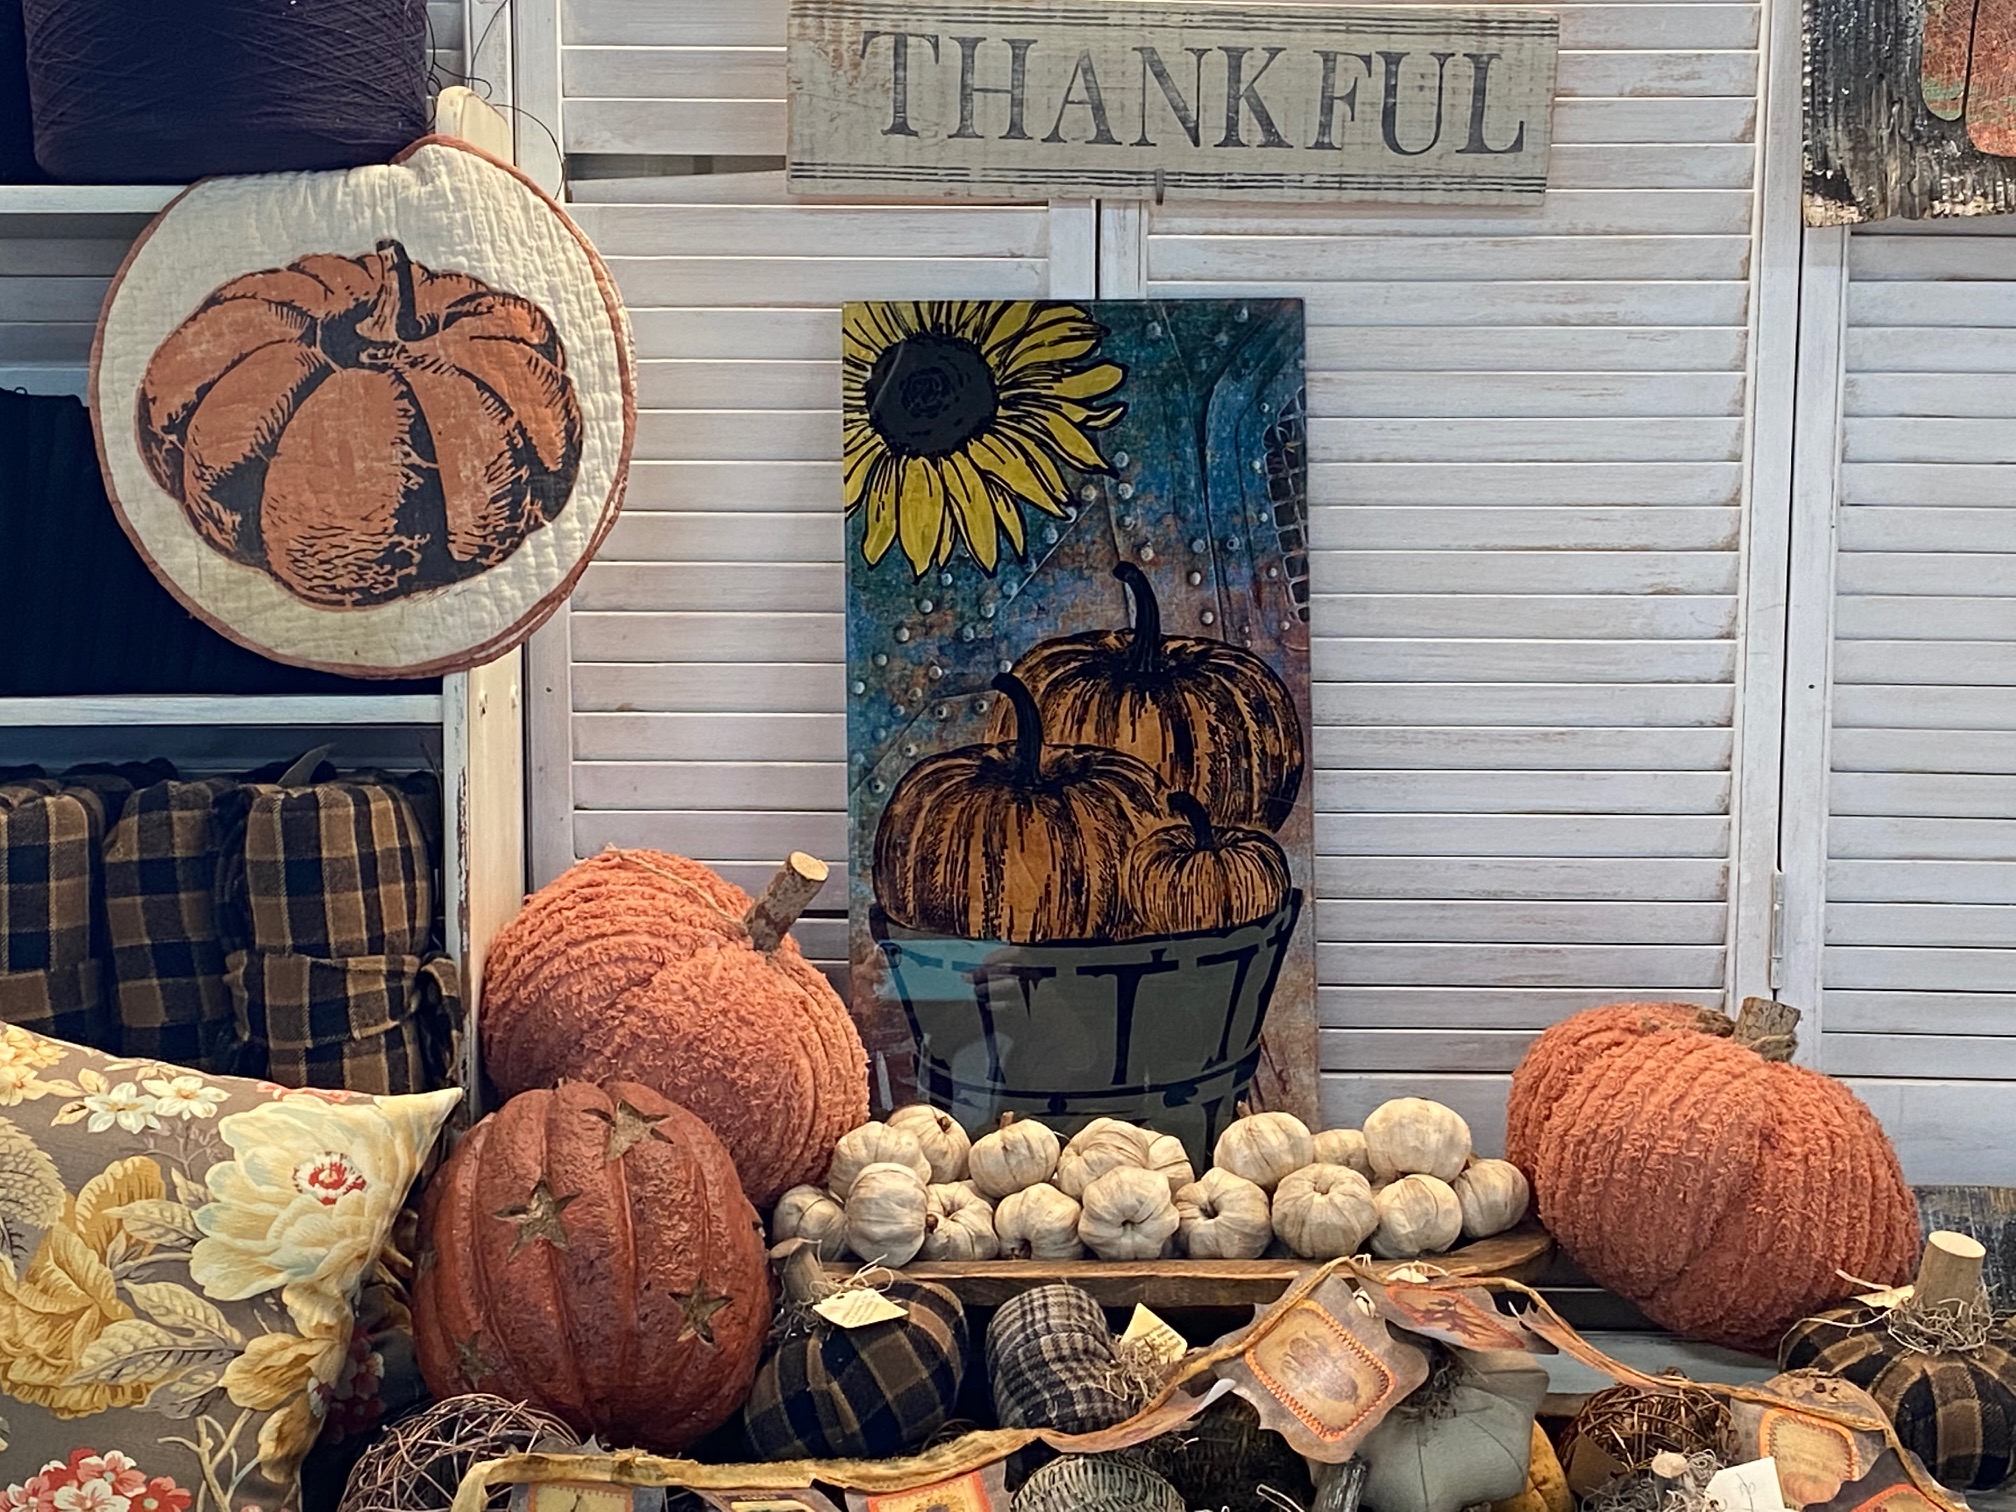
One of the best parts of this project is that you could use it to place food on! You can make a custom glass food tray for charcuterie, cookies, and more! Another great aspect to this board is that it shows a lot of dimension and is easy to do!
You can use any combination of stencils, stamps, and papers you want, but here are the items I used for this project. Get creative and blend your paint colors, use different colored embossing power, or even cut decoupage paper to size and decoupage behind the different elements!
Products


Tips:
- Use a sturdy glass that will not break easily
- Clean the glass before working with it
- Use extra fine embossing powder to reduce heat time
- Work in a climate controlled area (do not heat cold glass)
- Hold your stencil or stamp steady when applying watermark ink to glass. If it smears wipe clean and start over
- Reuse your excess embossing powder. Have paper under your project to collect it.
- Wait for embossing to cool before beginning next element
- Emboss one element at a time for best results.
- Mask off previously embossed areas
- Emboss “front” element first, working your way “back”
- Paint over the entire embossed element on the back. No need to stay within the detail lines
- Protect the back with sealer and additional paper, paint, or protective layer
- Try adding feet, sides, or handles for a more ornate tray!
Share!