Curious Farms Market
Where Vintage and Farm Meet
Fox in a Field

I had fun creating this project. The video is part tutorial, and part creative process. Use whatever media you have to fill in your watercolor vine frame!
Products I used


Project Tips
- Spray seal the water color to set the pigment in place.
- Use a heavier brush seal prior to transferring for better adhesion
- Use up scraps and a variety of mediums to create a fun collage
- Use different leaf shapes for fall! Or add flowers to your vine.
If you are interested in learning more about water color, visit Lexi Grenzer, and take one of her courses!

Fox in a Field Video
Fall Freebies

We added some more fall freebie downloads onto our Downloads & Freebies page.
Download and use these fun images on your fall projects. Most of them are FREE!
Fun Embellishments

A little artist fun! I love these paintbrush embellishments because I am an artist and I can add them to so many things. I also like that I can customize the paint color and style. Even if you do not use paintbrush embellishments, you can use the same concept on any clay or resin pieces to show the texture in the piece.

Plain Resin Paintbrush Pieces coming soon!
Christmas Label Ideas

Download the free Christmas Tags to use as-is, or crop, change the size, and use on your next Christmas project.


How to use Free Label download
- Download file
- Open in your favorite graphic editing tool
- Crop, resize, or print as-is
- Print on different papers or label backings (or print on fabric!)
- Decoupage, sew, or adhere
- Distress, seal, or simply stick to an item
Fallish Stitches

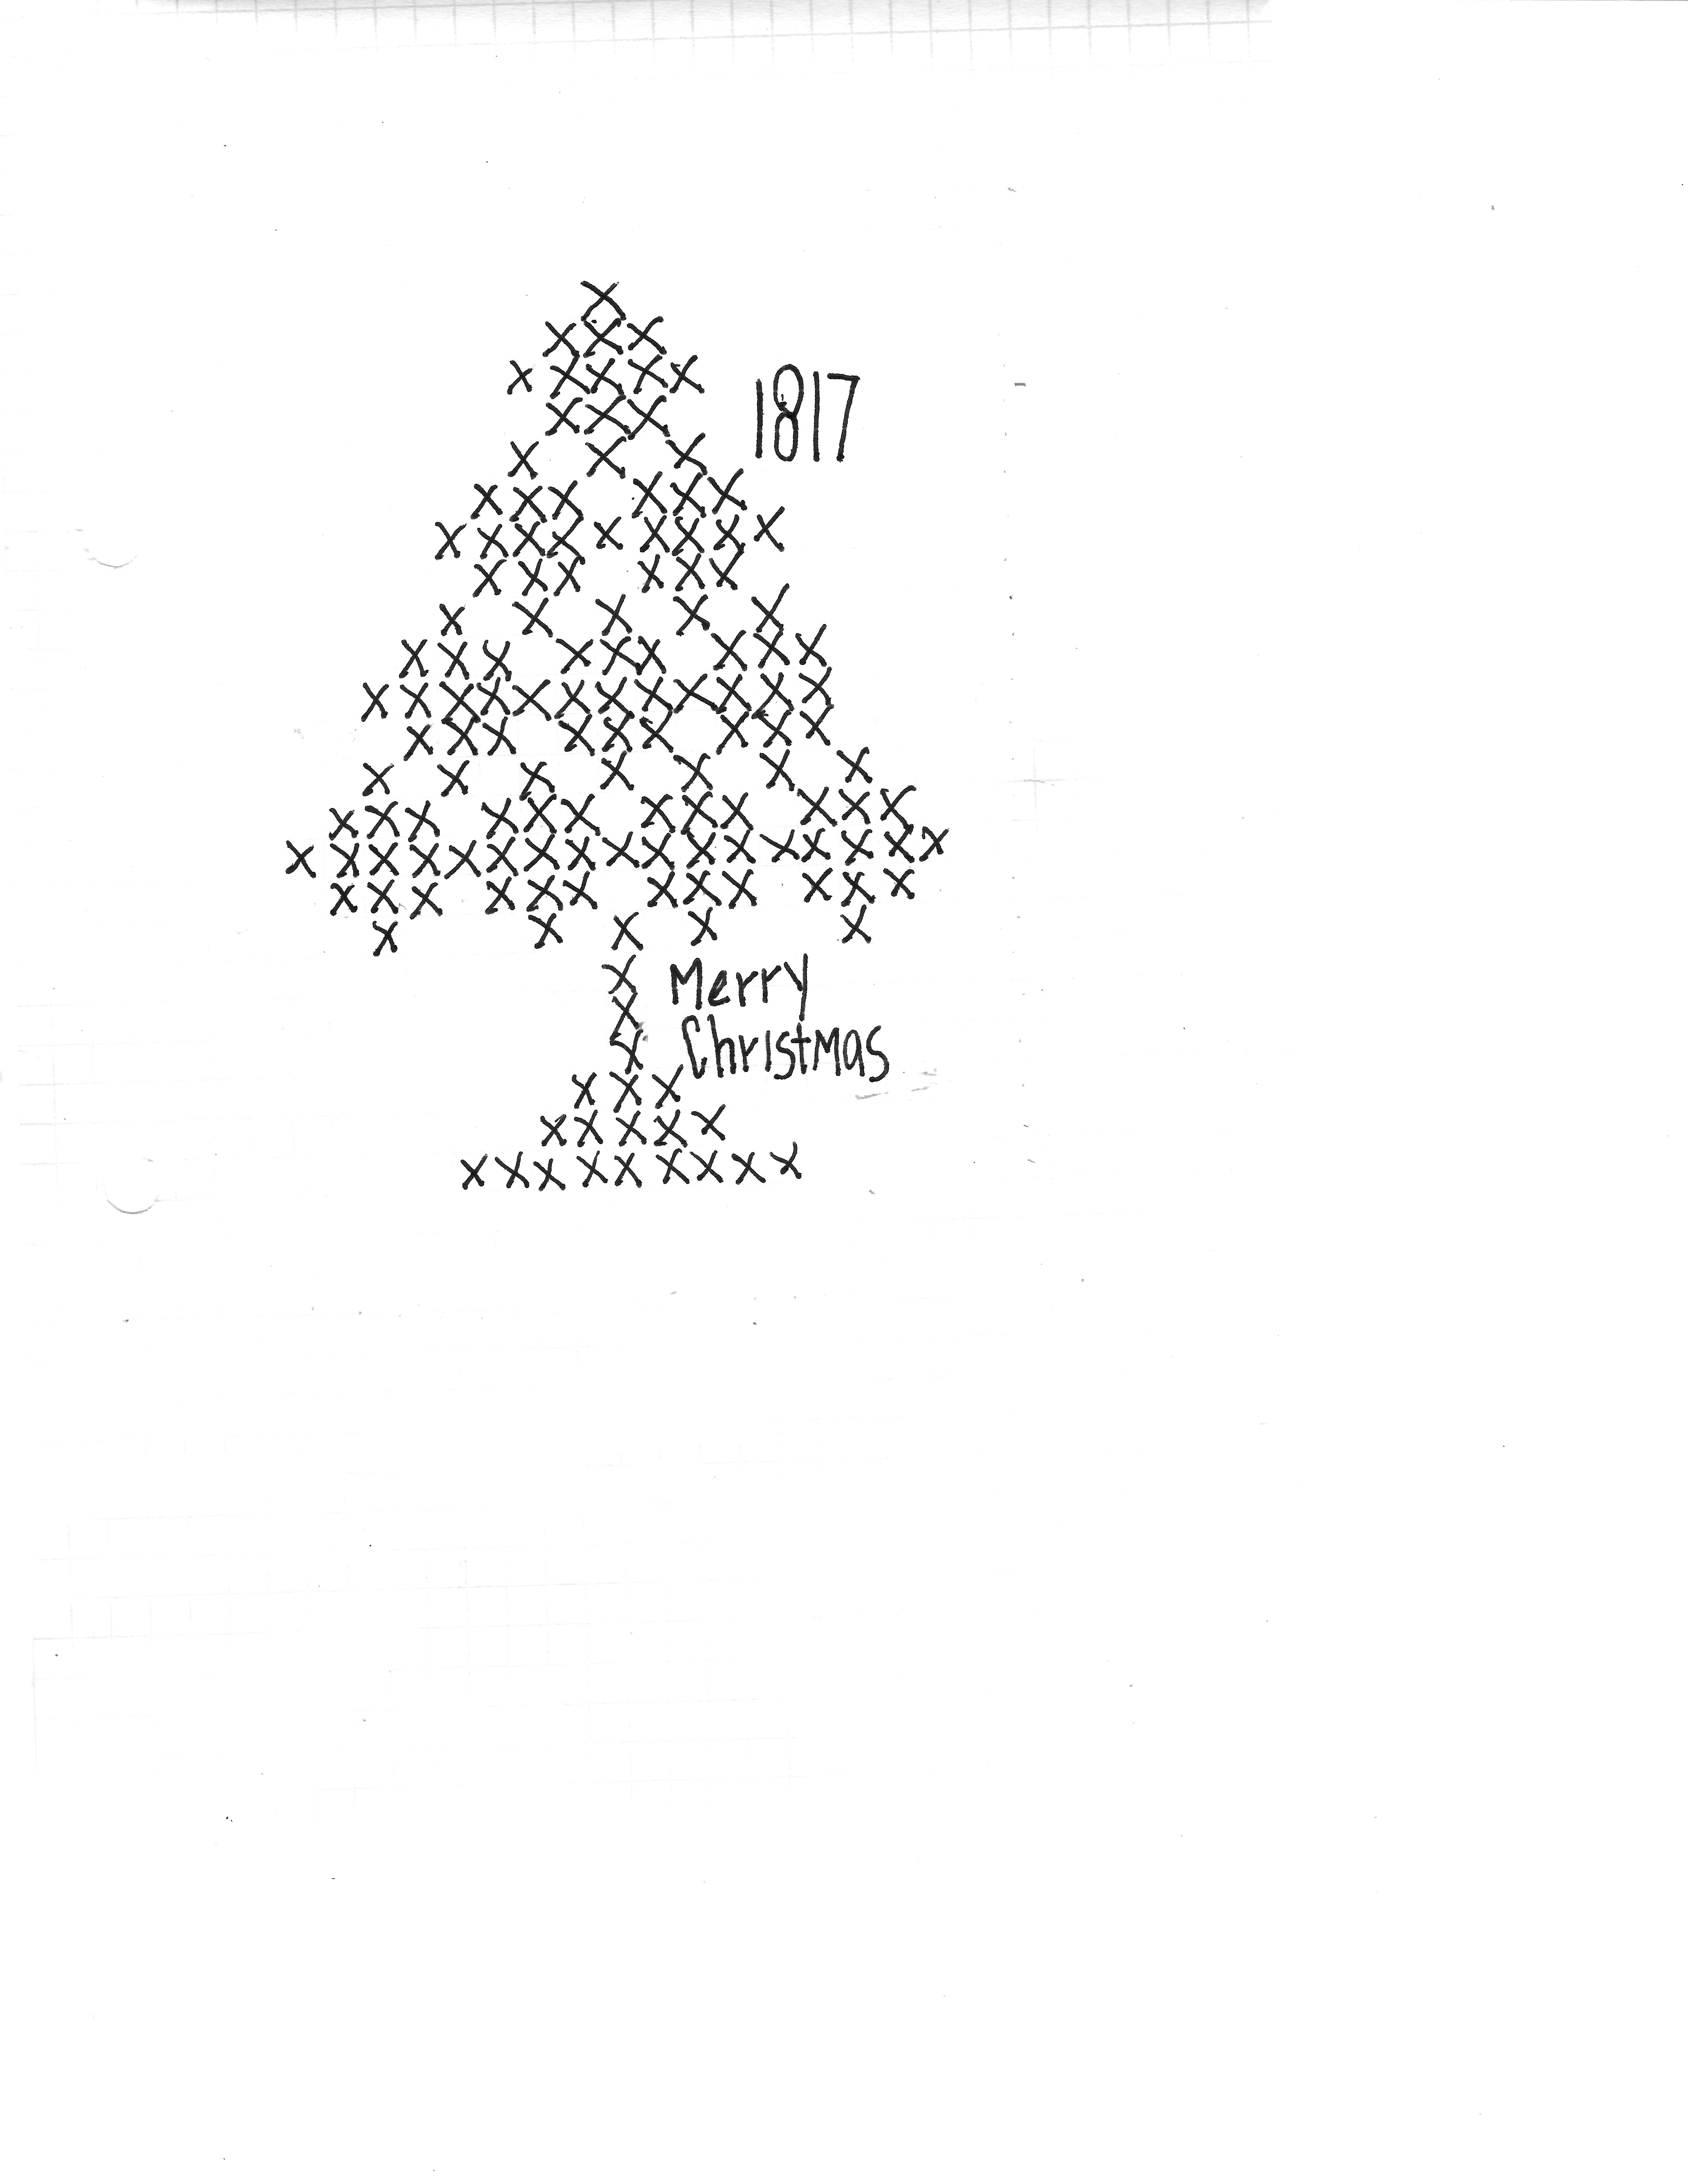
Primitive Tree
This first project is a different take on traditional cross stitch. I really liked the way the subtle lines came out with the primitive pencil grid. To make it easy, I just drew the pattern directly onto my fabric. Depending on the size of grid, you can make the pattern larger or smaller.


Crows
You could just print out the image or use the running stitch idea on any silhouette. I took the template image, printed it onto fabric and followed the stitches with dark thread. Try using different color threads, or inks. Try printing the single image larger or making several small crows.
Print on fabric:
- Cut a piece of cotton 8.5″ x 11″
- Iron the shiny side of freezer paper (8.5″ x 11″) to the back of the fabric.
- Run the fabric/freezer paper through the printer- printing the template.
- Remove the freezer paper from the back by gently pulling.
- Save the freezer paper to re-use on your next printed fabric.

Video tutorials: Cross-Stitch Tree & Running Stitch Crow.
Stitching review
Paper Stars and Baubles

For this project I used a new star fold I learned and used my DIY Golden Ticket patina and mica glitter for shine. I also use my new IOD Baubles mould and some quick-setting resin. You can take pieces of this project tutorial and customize it. Make stars, paint and glitter, use resin in the new Baubles mould… Take the concepts and use your imagination, or do the exact same project!
Whatever you do- have fun!
Products I used:


Amazing Casting Resin: 5 Minute Cure can be found at any craft store!


Star Steps
- 8 paper squares (I used 5×5)
- Crease in half both ways
- Crease diagonal both ways
- Fold two corners into center (like paper airplane)
- Fold in half lengthwise (folded sides in)
- Push flat end fold into center and flatten
- Connect all 8 “birds” beaks inside of wings
- Fold excess “wingtip” into next bird
- Create octagon frame
- Side edges inward and out
Star tips
- Use colored or textured paper rather than painting
- Try making bigger or smaller stars (use 8 squares any size)
- Original square size is the size of the star center
- Add different embellishments
Tutorial
Pumpkin & Cat

I took some old vintage images I had and turned them into this fun project page. Watch the video for some fun ideas on what to do with your free printouts. What other ideas can you come up with? Attach to goodie bags, decorate for October, make cards, use at your upcoming fall party…
Free download below

Supplies and such (click to follow links)


Ideas video
Hidden Treasures

Look at these fun new Roycycled Treasures stencils! The surprises under the cloches may not be hidden, but they are fun!
You can use each stencil separately or together. The real fun is deciding what to use with the stencils!
I used some of my favorite Royce paper, and some IOD transfers and scraps. You can use whatever you have- family photos, scraps, printouts, three dimensional items and more!


IOD Jingle Deer

Tips:
- Use a quick setting Resin or a hard-setting medium
- Paint, stain, wax to get the most detail
- Use in combination with other mould elements or additional media
- Use on its own, on wood, boxes, tags, and more!


Fall Buntings

These are super fun and easy buntings! You can also use them as a garland or other decoration. Use the same images for place settings, napkins, invitations, food labels and more for a matching table!